Step by step
How to build your own van.
Step 1: Electrical and Gas Layout
Install the 220V power inlet on the exterior of the van. Run 12V wiring for solar components and lines for outlets, lighting, and appliances. Lay out the gas lines and connect them to the stove and boiler. Install the water inlet, ensuring all connections are secure and properly tested.
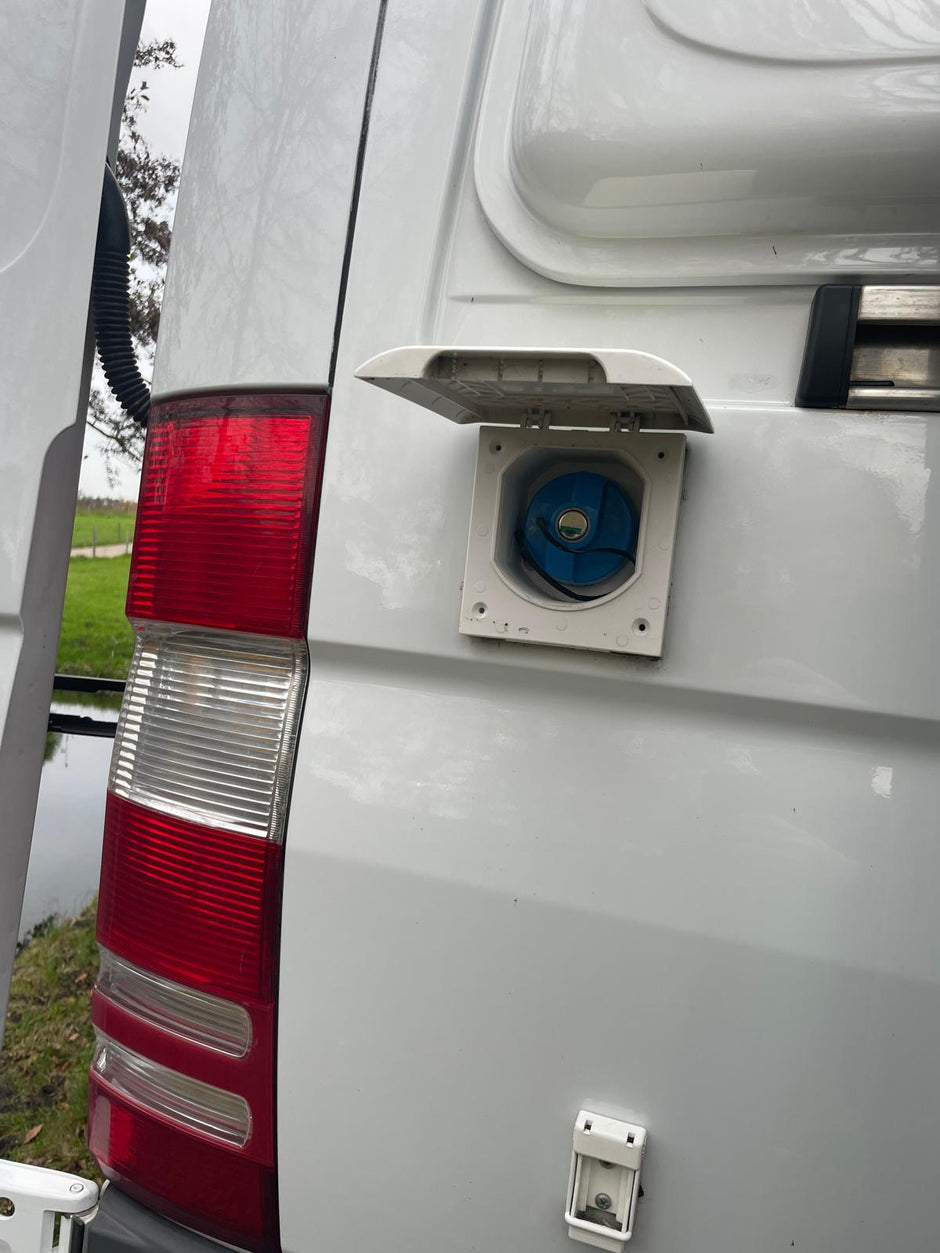
Step 2: Insulation and Raised Floor
Apply foam board and Armaflex insulation to the walls, ceiling, and floor for thermal and acoustic benefits. Install the raised floor, securing it firmly and leaving access points if required for wiring or other components.

Step 3: Flares, Windows, and Solar Panels
Install flares to expand the van’s width for sleeping. Mount the windows into the pre-cut openings, sealing them to prevent leaks. Secure solar panels to the roof using the brackets included in the kit.
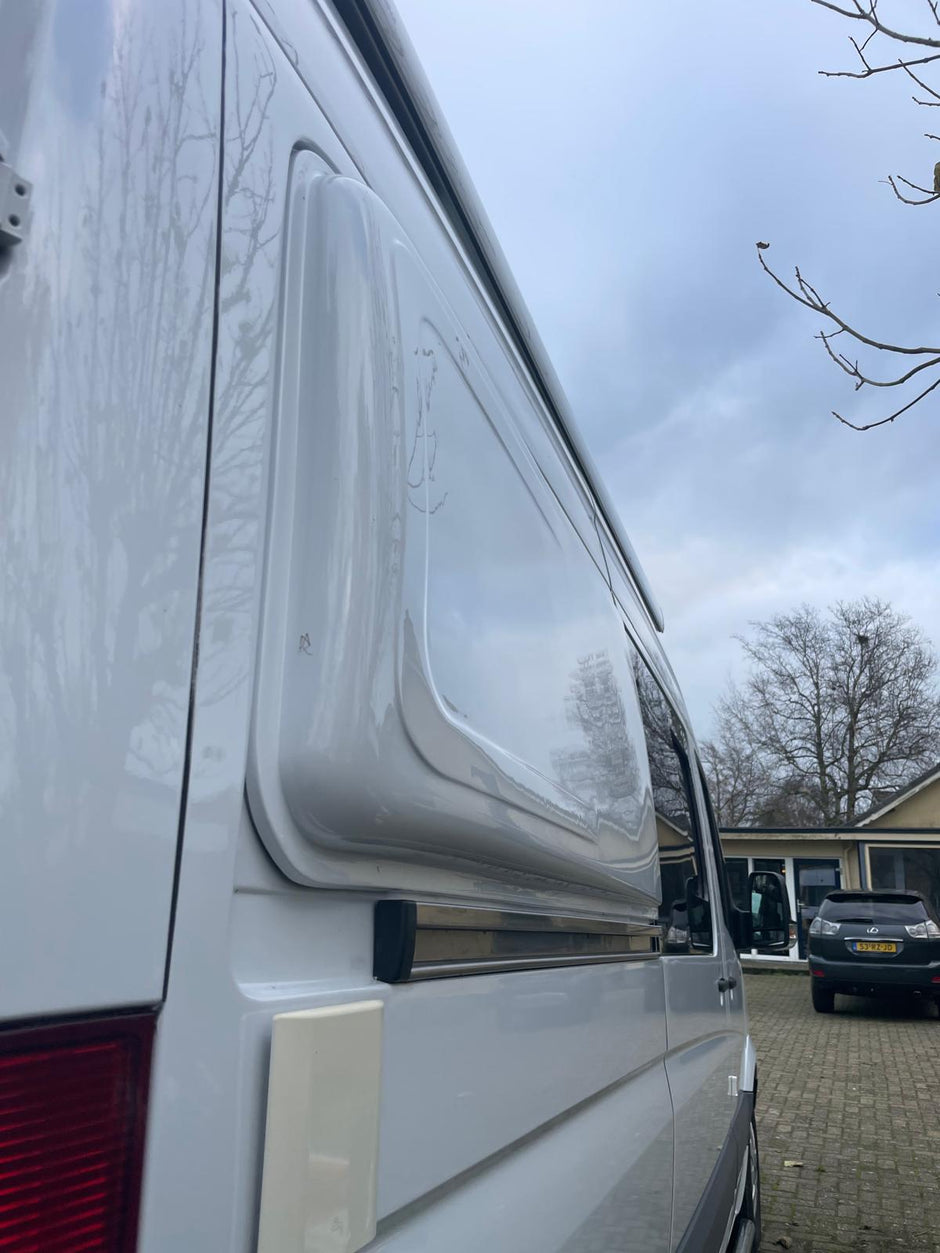
Step 4: Cabin Assembly
Assemble the flatpack cabin components following the provided instructions. Securely attach all parts to the van's structure, aligning with electrical and plumbing layouts as needed.
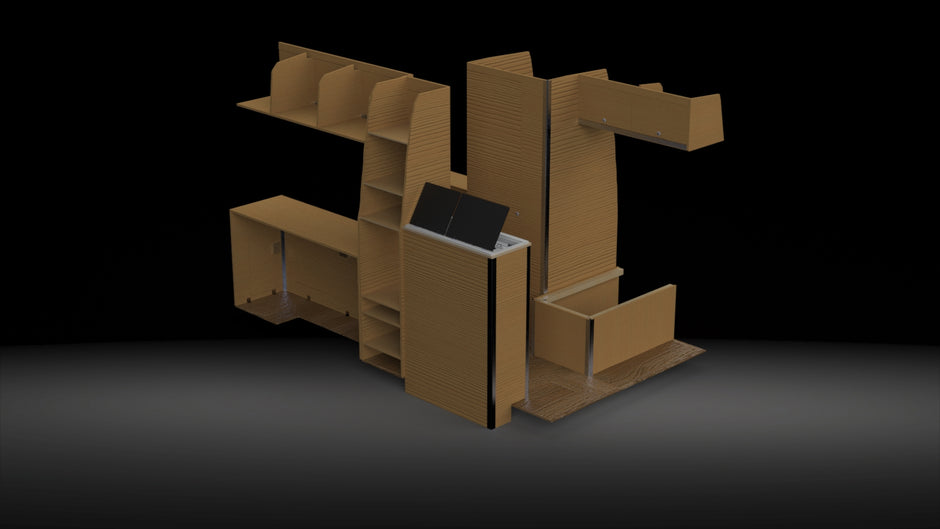
Step 5: Kitchen Installation
Install the kitchen unit, securing counters and the sink. Connect the plumbing for water supply and drainage. Attach the stove and connect it to the gas line for safe operation. Include any provided water pump or filtration systems in this step.
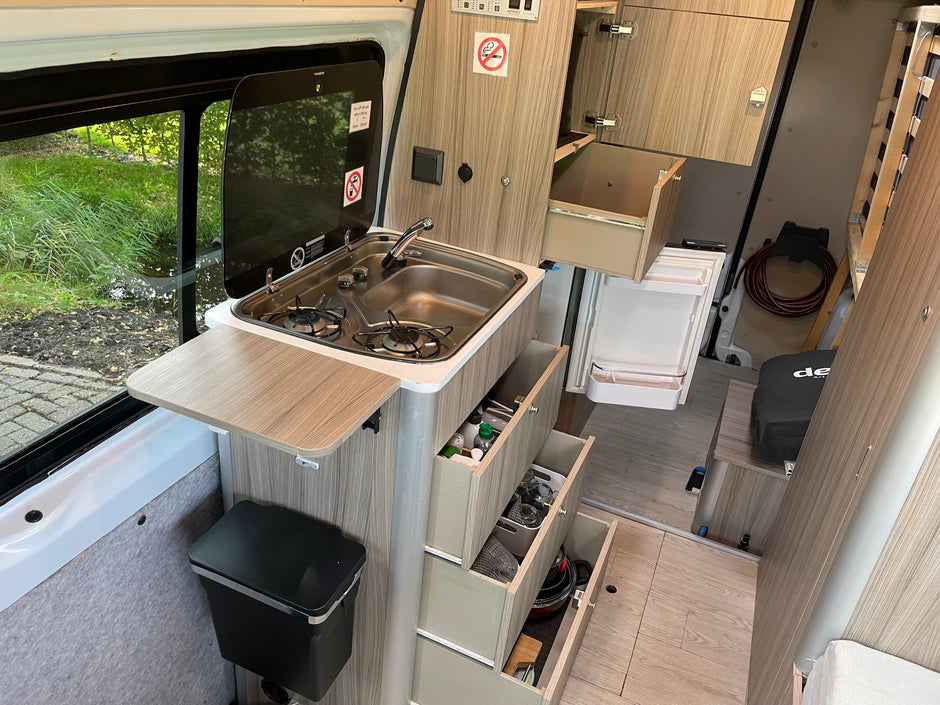
Step 6: Mid-Cabin Installation
Secure the fridge in the mid-cabin section. Make sure it is properly ventilated and firmly mounted to prevent movement.

Step 7: Overhead Cabins
Install overhead storage cabinets at the front and rear of the van. Use the included brackets or screws to mount them securely to the walls and ceiling.

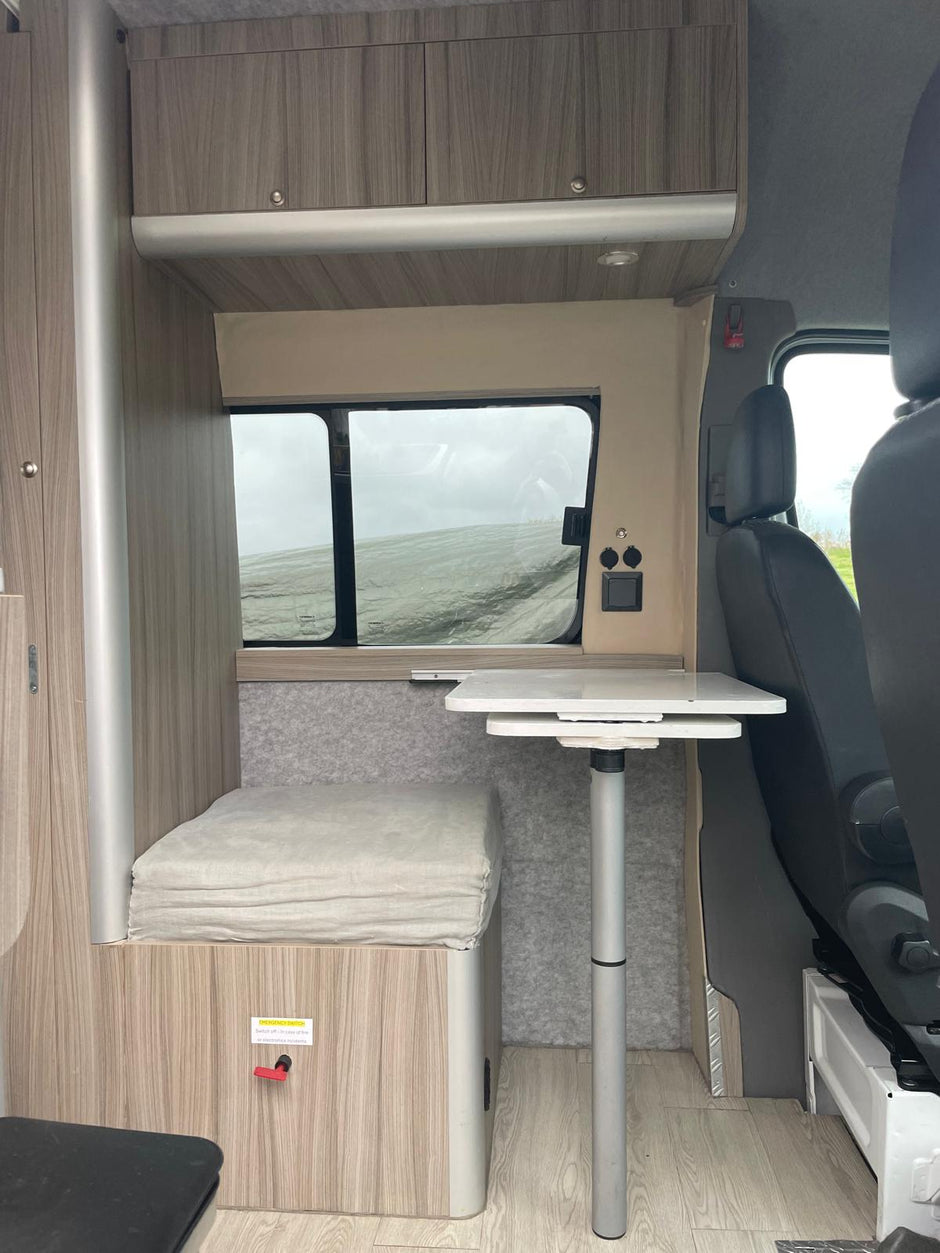
Step 8: Mid-Seat Installation
Position and fix the mid-seat securely to the van floor. Check for stability and ensure proper alignment with surrounding components.
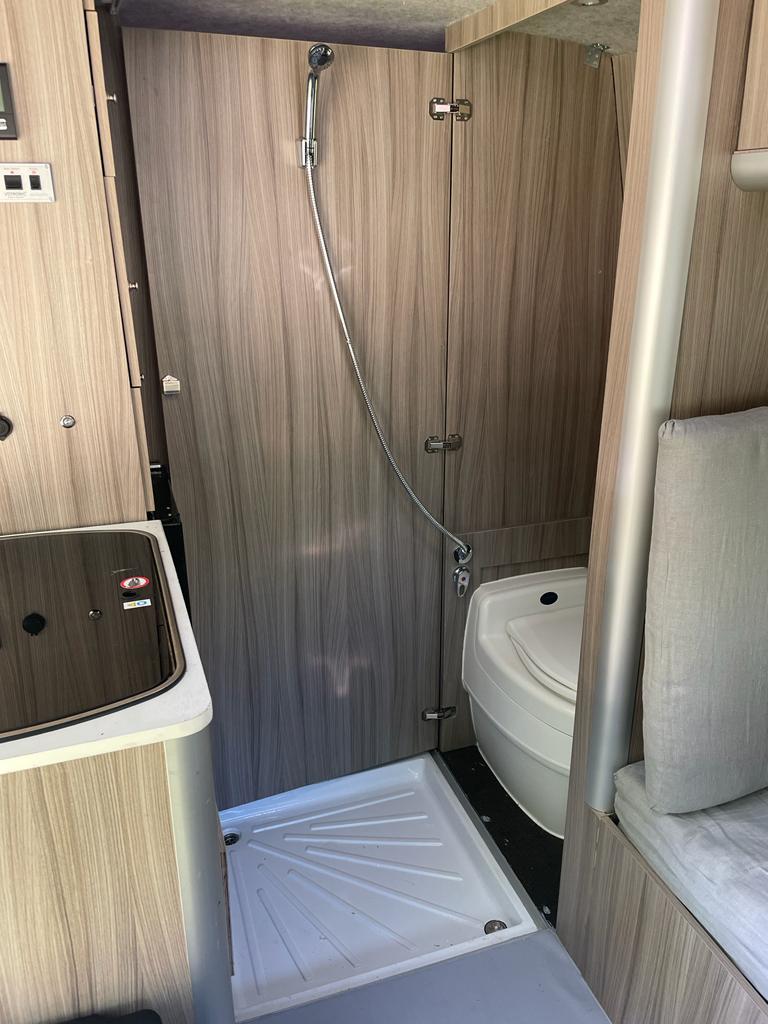
Step 9: Bathroom Setup
Assemble the bathroom unit, including plumbing connections for water supply and drainage. Test all connections and ensure the unit is water-tight.
Step 10: Water Tank Cabin
Install the water tank cabin to house fresh and waste water tanks. Connect plumbing lines to the sink, shower, and drainage systems. Test the system for leaks and proper flow.

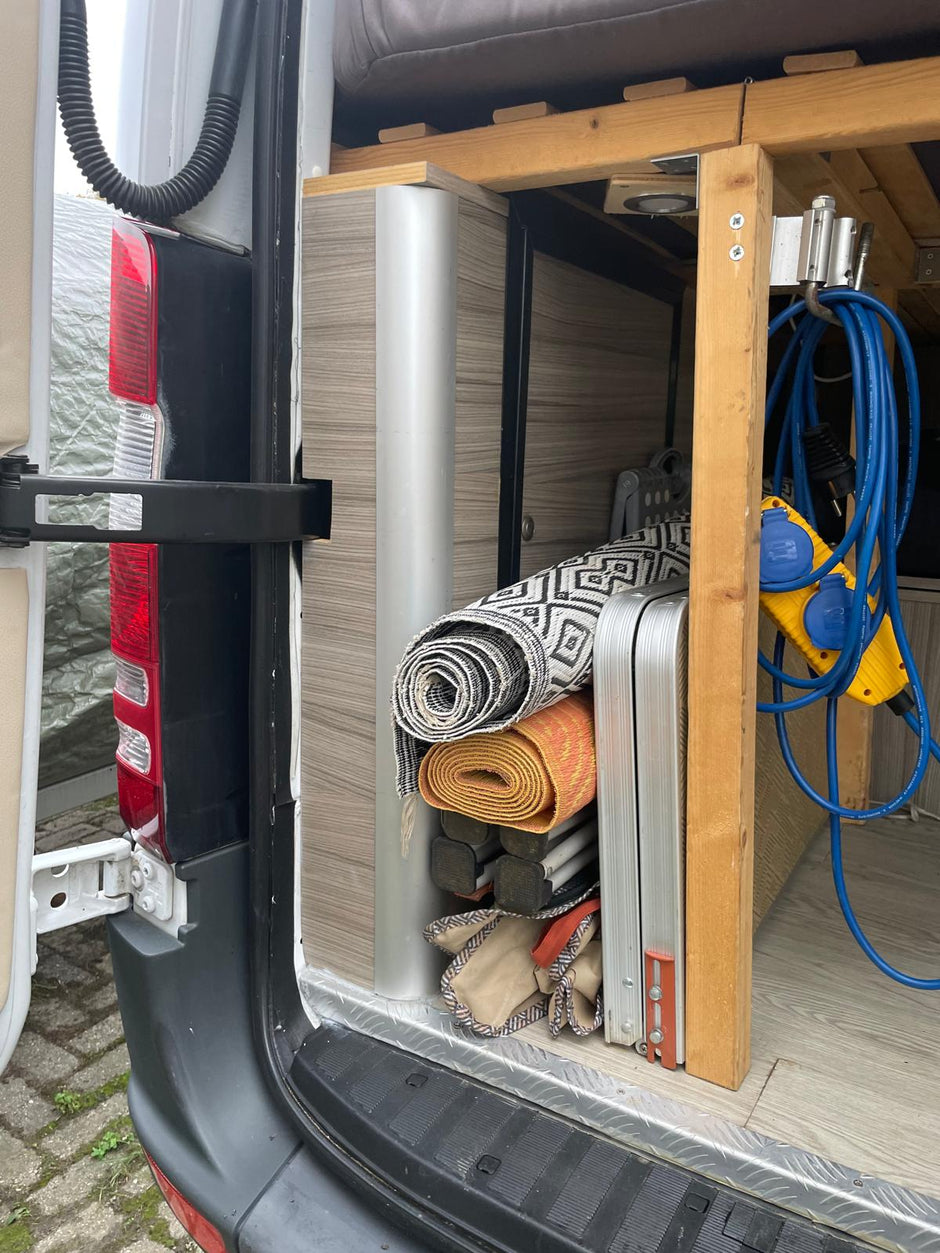
Step 11: Gas Cabin
Install the gas cabin to house propane or gas cylinders. Connect gas lines to the appliances, and use appropriate testing methods to ensure leak free connections.
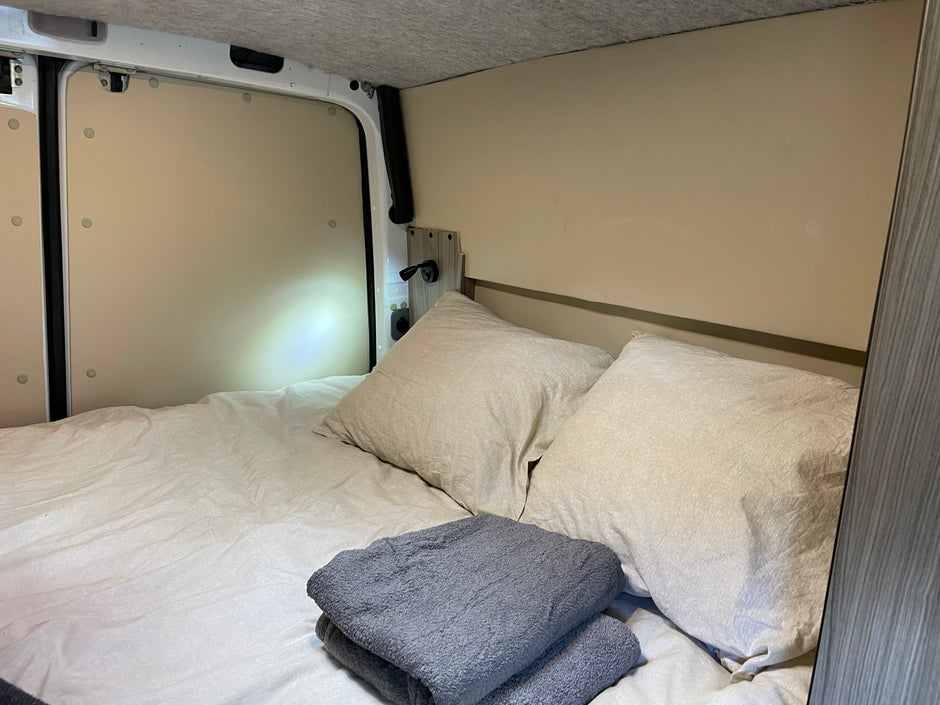
Step 12: Bed Installation
Assemble the bed frame and secure it to the van structure. Add the mattress and ensure
the unit is stable and properly fitted within the space.
Step 13: Hardware Installation
Install the boiler, 12V batteries, and any required sensors. Secure rotating chairs to their bases. Connect wiring and test all components to confirm proper operation.
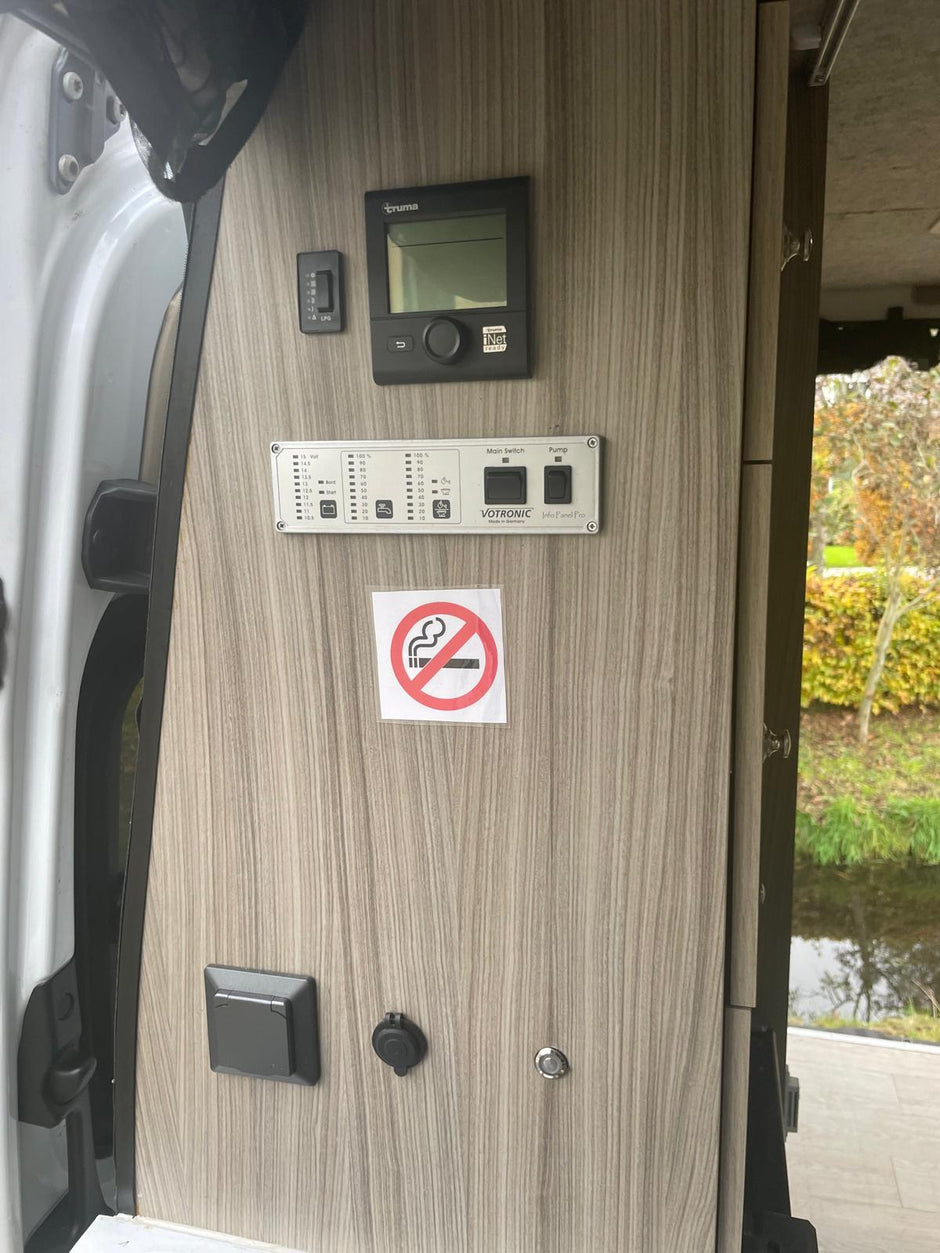
Step 14: Finishing Touches
Install mosquito nets, USB outlets, and 12V outlets. Perform a final check of all fittings, connections, and systems to ensure everything functions as intended.
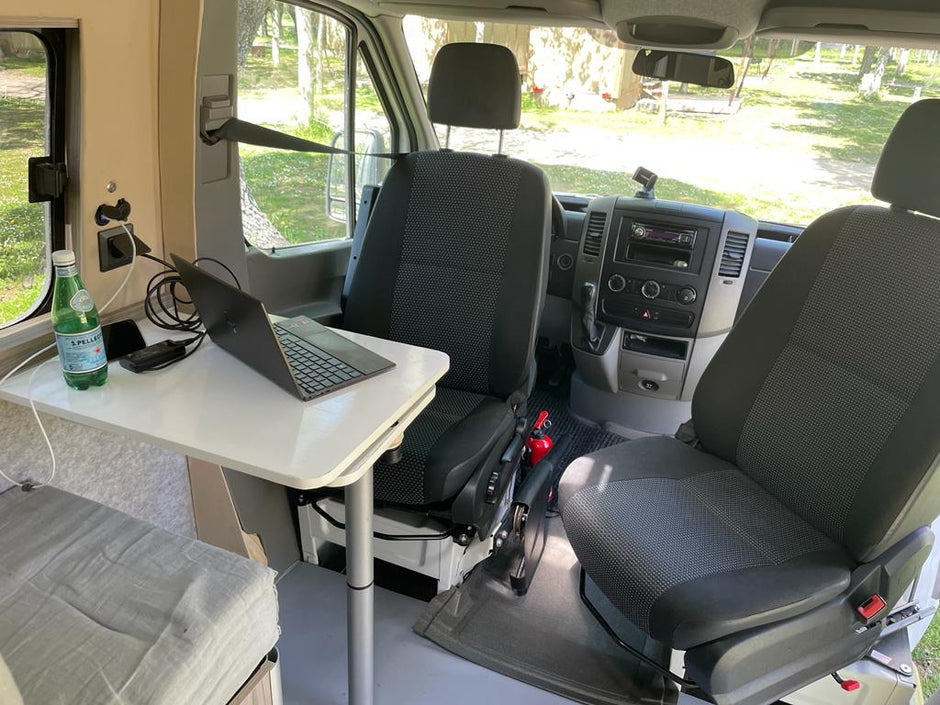
Full Kit
The Complete Sprinter Kit has everything you need in one package. With a single
click, get all the components, hardware, and instructions to transform your van
with no hassle. It’s the simplest way to start your campervan journey with
ease!

